If you desire to have a vehicle with a long lifespan and excellent performance, then routine maintenance can go a long way. One of the most vital tasks in maintaining your car is oil checks. The purpose of motor oil is to ensure that each component of your engine is properly lubricated so that it can operate and move smoothly. When your vehicle is low on oil, potential damage may arise which can ultimately lead to expensive repairs. You can make sure that your engine has enough oil by performing routine checks. Not sure how? Car and Driver provides simple instructions on checking your oil levels, that our team at Barbour Hendrick Honda has taken the time to lay out before you below.

Preparing to Check
When you are ready to check your oil level, you need to make sure that your vehicle is level. It does not need to be parked on any incline as this can give a false reading of the oil level. Another factor that can give an inaccurate reading is hot oil. For a better reading and your safety when performing oil checks, it is ideal to allow your engine to cool down for a minimum of ten minutes.
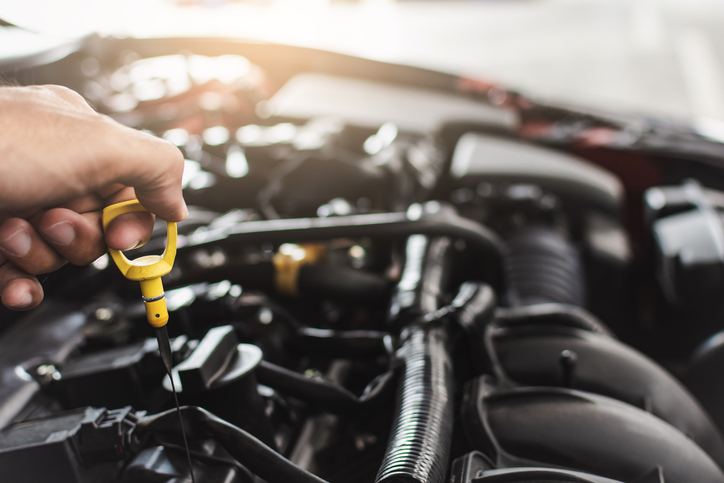
Find & Draw the Dipstick
With the hood of your car open, you need to locate the dipstick. It typically has a bright-colored yellow or orange handle. There will also usually be an oil can symbol to help you better locate the dipstick. Once you find the dipstick, you need to draw the dipstick out. You will wipe the dipstick clean of any residue with a paper towel or some type of lint-free cloth.
Observe the Oil Level
After cleaning the dipstick after the initial pull, you will insert the dipstick back into the tube. Make certain that it is pressed all the way in. You will pull the dipstick out of the tube to observe the oil level. There will be two markings on the dipstick. One mark or line indicates the minimum level and the other is the maximum level. The oil level needs to be between those two markings. If it is past the minimum level, then you need to add some oil. On the other hand, oil levels that are past the maximum level indicate that you have too much oil in the engine.
Wait & Check Again
As with any test or check, it is wise to check the levels another time. This second check needs to occur after you have already added a quart of oil and it has had time to drain into the crankcase. When you re-check the oil level at minimum should be between the high and low markings. Even at this level, your vehicle’s engine will have enough oiling to operate safely on the road.
Car and Driver advises that if you are new to checking your oil levels and/or are uncertain of how often your oil gets depleted, then it may be a good rule of thumb to check your oil every week for a month. You will then have a better gauge of the oil levels so that you can do a more competent job of performing the steps listed above when checking your oil.
You might also like: Is It Time To Have Your Tires Rotated?
Get an Oil Change at Barbour Hendrick Honda
While checking and topping off your oil to keep your engine properly lubricated is a quick fix, it cannot be the primary solution. You have to have regular oil changes to replace the dirty, old oil. This can be a pain if you do not have the proper tools or the right setup in your garage. Take the burden off of you by getting an oil change at Barbour Hendrick Honda’s service center in Greenville, NC.
Disclaimer: The stock image is being used for illustrative purposes only, and it is not a direct representation of the business, recipe, or activity listed. Any person depicted in the stock image is a model.